温馨提示:开票另加税点,详细咨询客服!



Catalog
1. Product Overview 6
1.1 Remote Handheld Display Console Overview 6
1.2 Handheld Status Bar Icon 6
1.3 Handheld Menu Icon 7
1.4 Baby Monitor Overview 7
2. Start Using 8
2.1 Camera Power Supply 8
2.2 Camera Power Switch 8
2.3 Handheld Display Power Switch 8
2.4 Watching The Image of Camera 8
2.5 Pairing 8
3. Camera Using 9
3.1 Installation 9
3.2 Intercom Mode 9
3.3 Night Vision Mode 9
4. Handheld Display Menu 9
4.1 Intercom Mode 9
4.2 Volume Adjustment 9
4.3 Display Brightness Adjustment 10
4.4 Feeding Reminder (Alarm Clock) 10
4.5 Lullaby 10
4.6 System Time Setting 10
4.7 Temperature Display 10
4.8 Camera Display Selection 11
4.9 VOX Setting 11
5. Cleaning 12
6. FAQ & Troubleshooting 12
7. Specifications 13
1. Product Overview
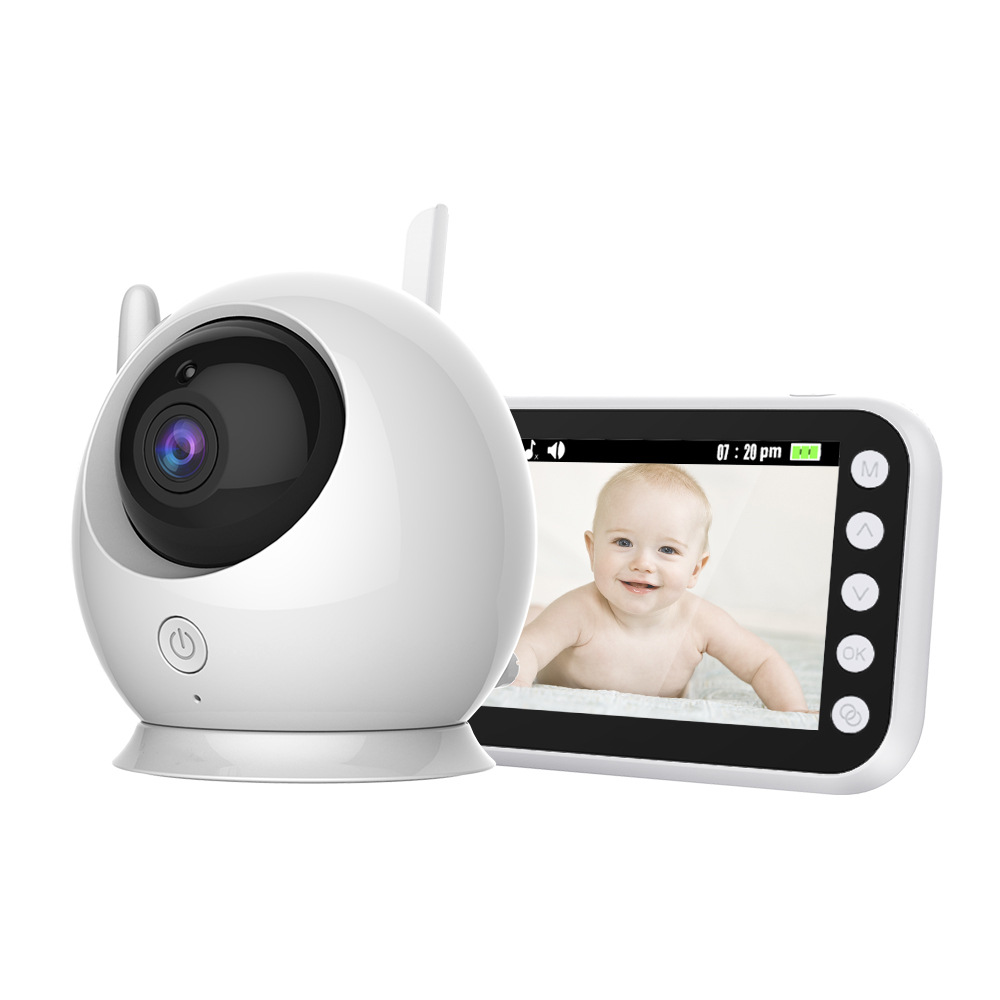
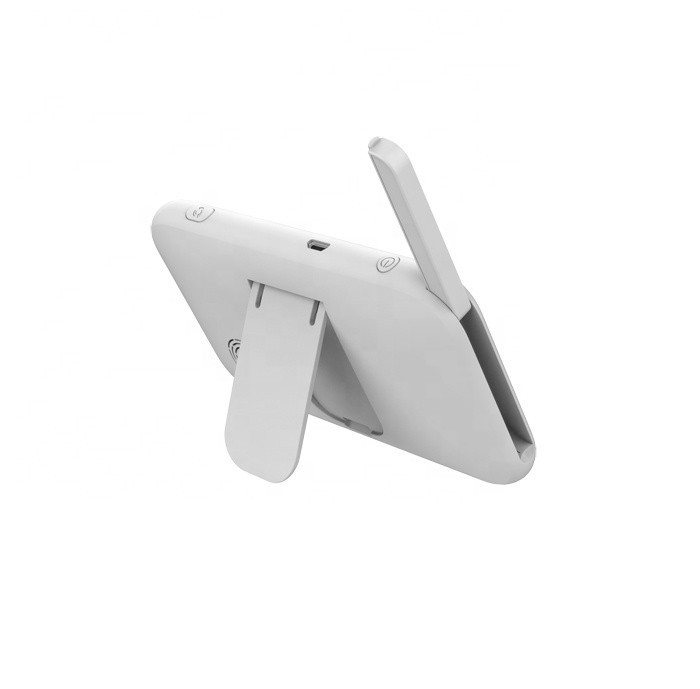
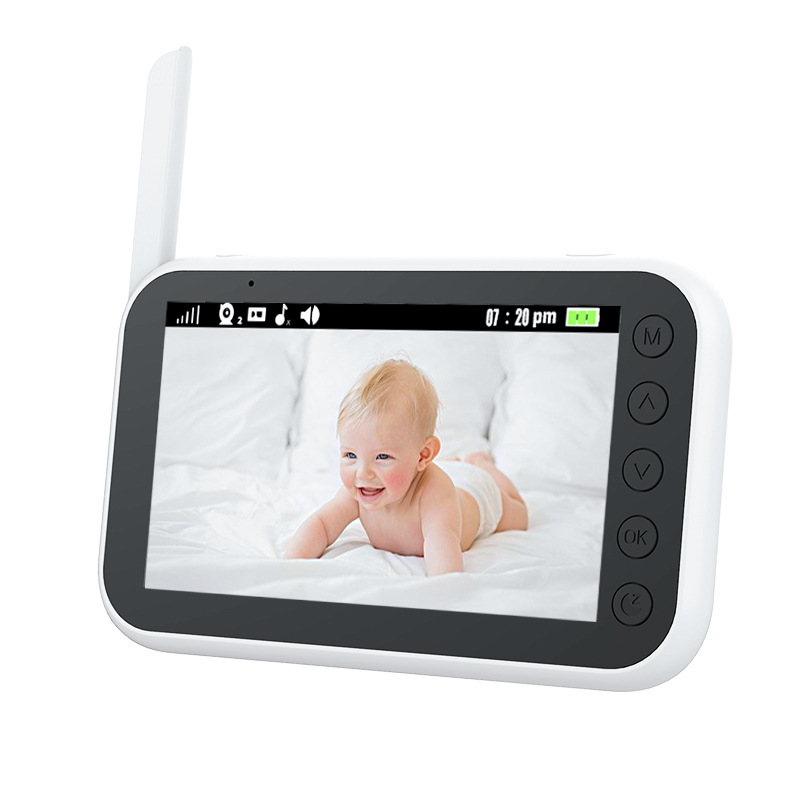
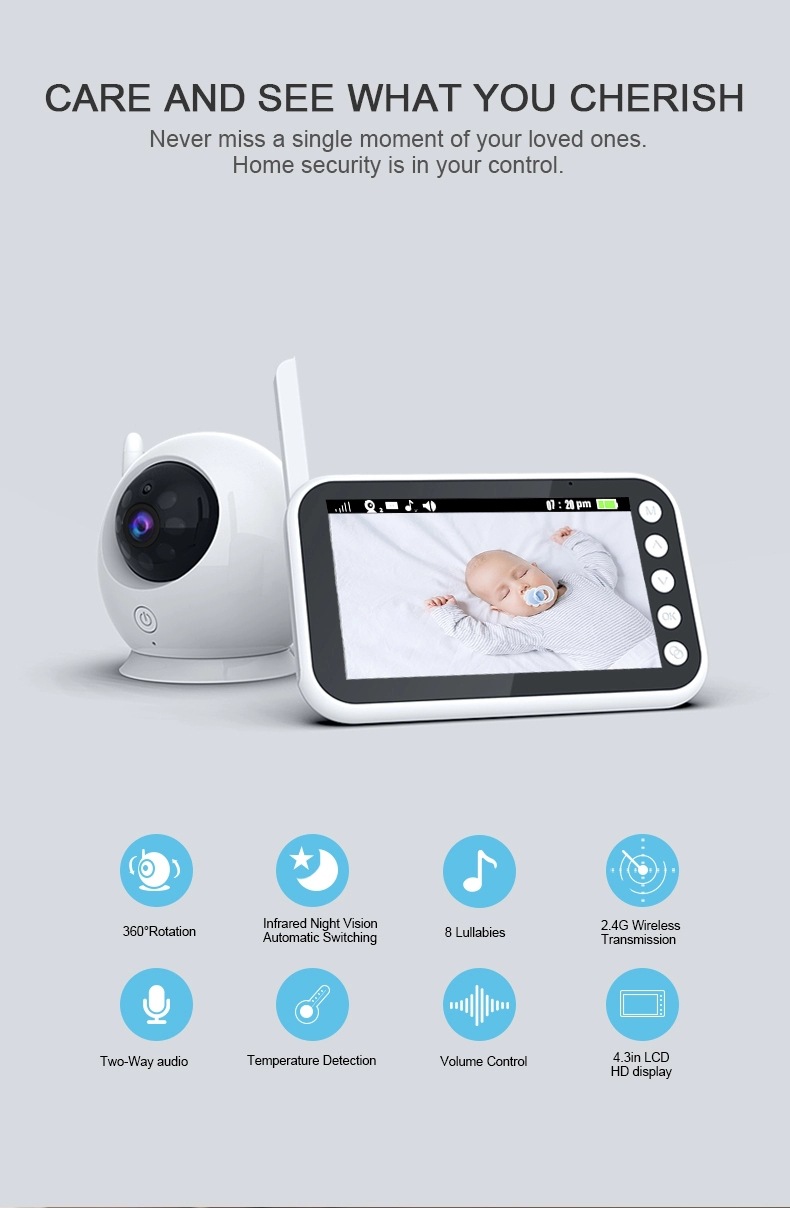
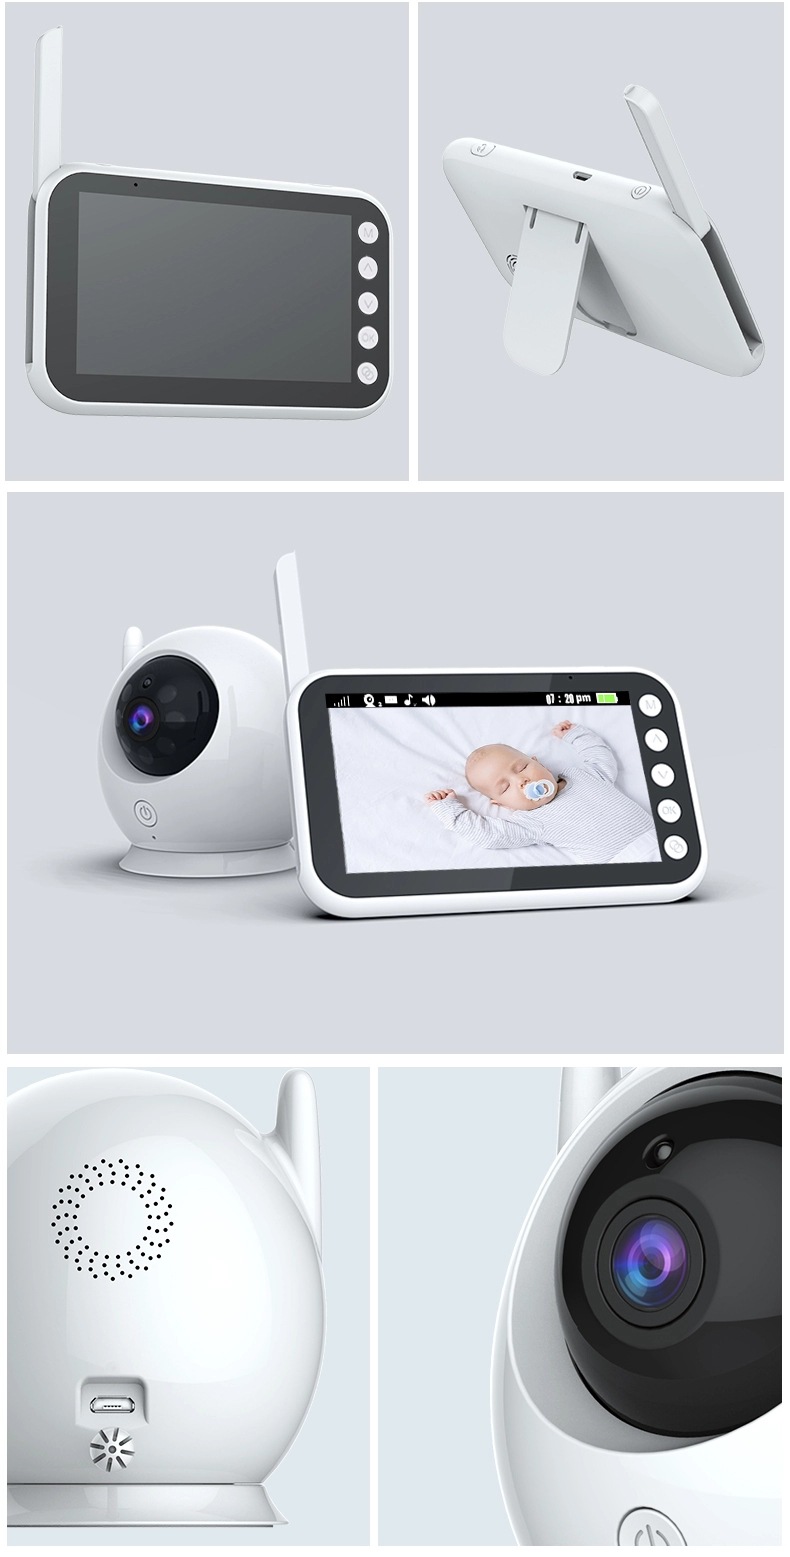
1.1 Remote Handheld Display Console Overview
1.2 Handheld Status Bar Icon
Signal Level (5 Levels)
No Signal
Camera 1
Camera 2 (Optional)
Camera Switch
Lullaby Switch
Volume Level (Level 6)
Night Vision Mode
Cry Detection (High, Medium and Low 3 Modes)
Baby Room Temperature Display
System Time
Battery Power
Intercom Mode
1.3 Handheld Menu Icon
Feed Reminder Time Setting (Can Set Five Alarm Clocks)
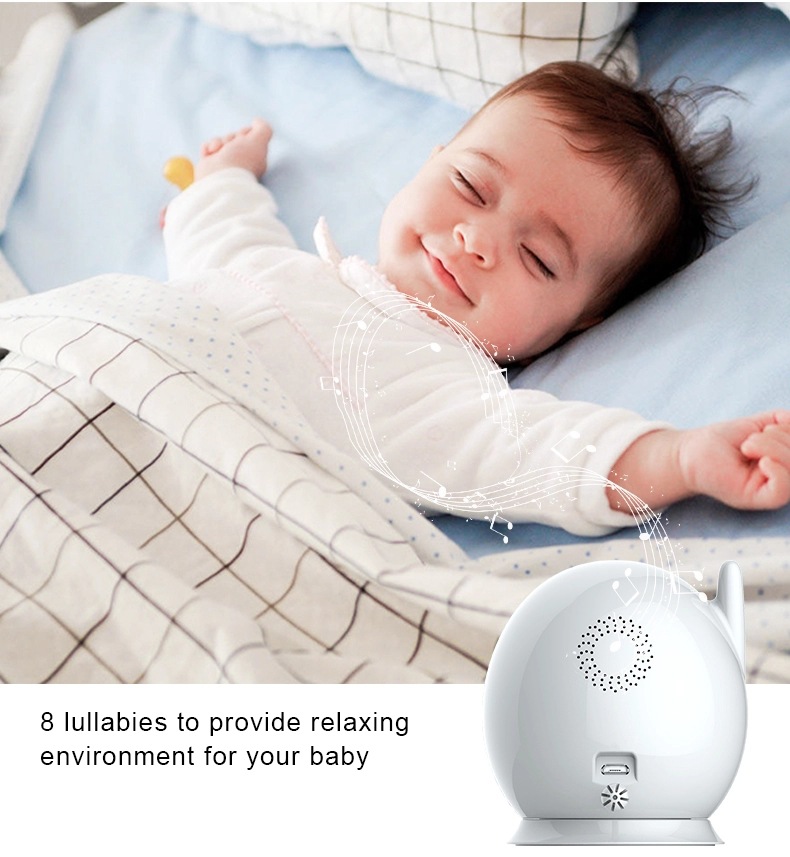
Lullaby Selection (8 Lullaby)
System Time Setting
Temperature Mode Setting (Celsius / Fahrenheit)
Camera Settings (Add/Delete/Switch)
VOX Sound Detection Settings
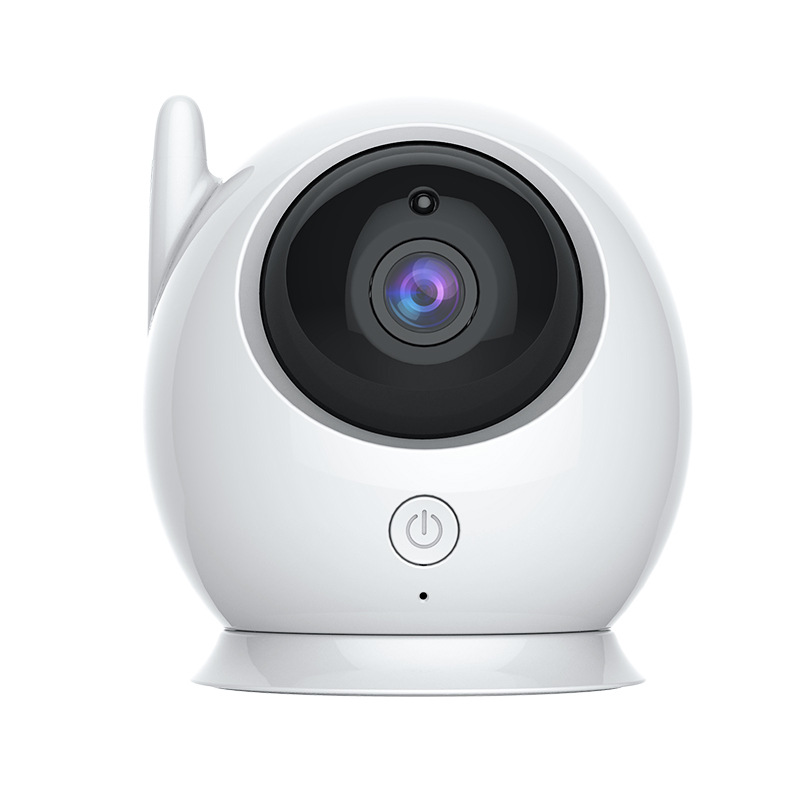
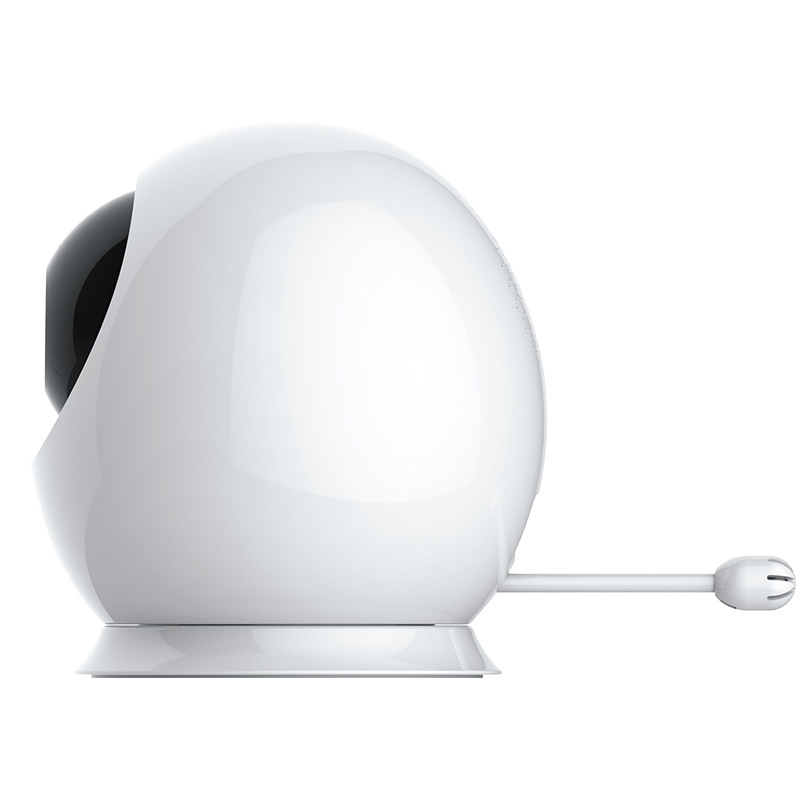
1.4 Baby Monitor Overview
2. Start Using
2.1 Camera Power Supply
(1) Connect the Micro USB plug of the power adapter to the camera, and the other side to the power outlet, it should be connect the power adapter to the 110-220V AC outlet.
(2) When the power is connected, the camera will automatically turn on and the blue indicator will light (the night mode will automatically turn off).
2.2 Camera Power Switch
(1) Power on, when the power is connected and the power is off, short press the power switch key to turn on.
(2) Shutdown, long press the power switch key for 3 seconds, you can shut down.
2.3 Handheld Display Power Switch
(1) Charging for the handheld display. The process from no power to full charge is approximately 2-3 hours, but the machine can be turned on after the display terminal is plugged in.
(2) Long press power switch key for 3 seconds to turn on, open the receiving antenna of the handheld display.
2.4 Watching The Image of Camera
When both the camera and the handheld display are normally turned on, the handheld device should display the image from the camera(If the display is not displayed properly, please check the pairing condition.)
(1)If the pairing is not successful, please pairing refer to the 2.5 pairing instructions;
(2)If the camera you pair is camera1 ,you need to press the switch button to switch to camera 1,then it can be show the image. If the camera you pair is camera2 ,you need to press the switch button to switch to camera 2, then it can be show the image.
2.5 Pairing
(1) Pair code: When the camera is turned on, press the power button (about 10 seconds) until the blue light flashes quickly, release the button, it will enter the code mode. At the same time, open the handheld display and press button to turn on the menu. Press or to select and press to confirm. In the pop-up bar, continue to press button to select and press to confirm, and then press or to chooseor for pairing. At this time, the red light in the upper left corner of the display will flashes, when pairing successful, the light of camera and display will stop flashing. The display will show the image of the pairing camera. If there is no connection for 10 seconds, the code mode will be automatically exited.
(2) Press to return to the main menu, press the camera switch button to change to pairing camera.
(Note: one camera just can be connected to one display, but one display can be connected to two camera at the same time)
3. Camera Using
3.1 Installation
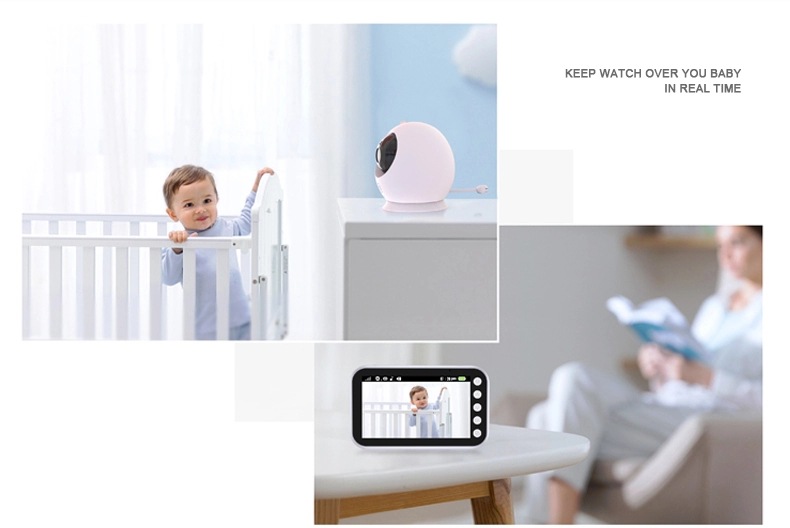
(1) Place the camera in a convenient position so that it can aimed at the area you want to monitor.
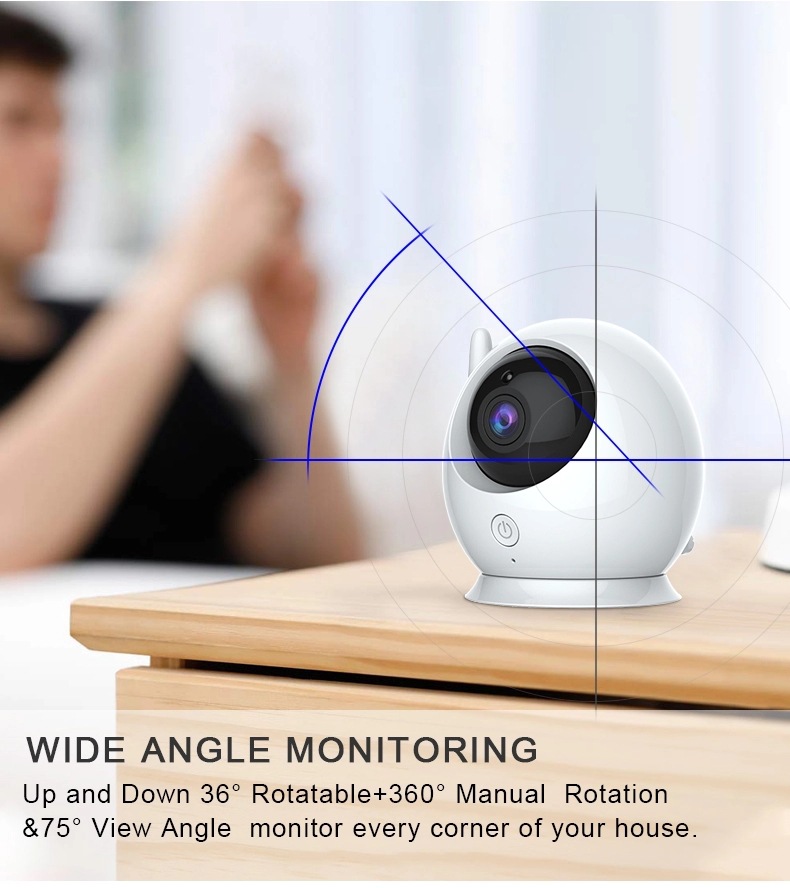
(2) Adjust the angle of the baby device by turning the camera up, down, left or right until a satisfactory image is obtained on the handheld device.
3.2 Intercom Mode
When you speaking of the camera ,the handheld display should be able to hear the speech sound. If not ,you can short press the or button to increase or reduce the volume(The step please read the 4.2 Volume Adjustment)
3.3 Night Vision Mode
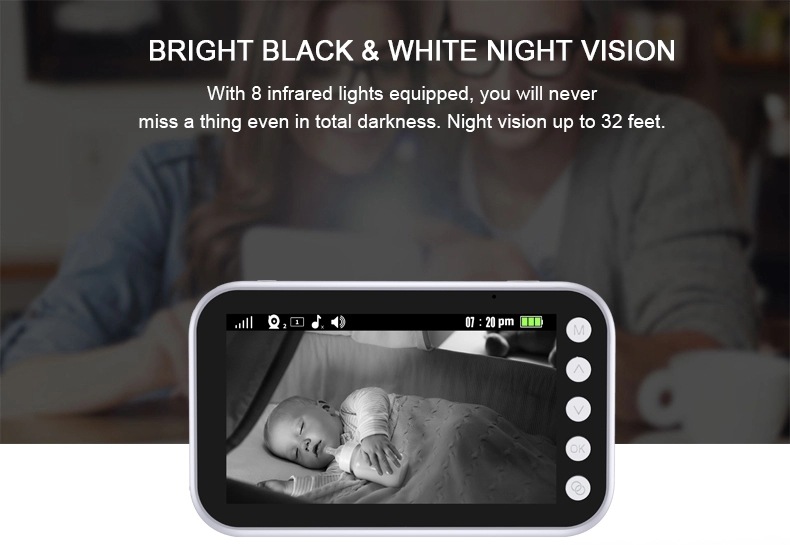
The camera equipped with 8 high-intensity infrared LED lights that capture clear images in the dark. When the built-in optical sensor detects that the ambient light is weak, the infrared LED will automatically light up, the screen of the handheld device will be show on black and white color, and the icon will be displayed in the status bar at the top of the screen.
4. Handheld Display Menu
4.1 Intercom Mode
When the handheld display needs to enter the intercom mode, you need to press key and hold the key, then you can start the conversation. Release the key when the speech is finished. After released key of the display, the system will automatically enters the camera intercom mode.
4.2 Volume Adjustment
Press the or button in the display mode to increase or reduce the camera's transmission volume. The volume has 6 levels, and you can select the appropriate volume from the volume level of 1-6.
4.3 Display Brightness Adjustment
Press or and hold the button in the display mode to pop up the brightness adjustment progress bar, then press the or button to select the appropriate screen brightness, wait for 3 seconds ,the system will automatically save the settings.
4.4 Feeding Reminder (Alarm Clock)
(1) Pressbutton,it will pop up the menu bar.
(2) Press theor button untilis highlighted, and click to confirm.
(3) Press the button or button to select the alarm time for the feeding reminder (0.5h, 1h, 2h, 3h, 4h). To return to the previous step, press the key.
If the alarm time is selected, the handheld device will beep every 0.5 hours, 1 hour, 2 hours, 3 hours, 4 hours, and the flashing flag of the feeding reminder will be displayed.
4.5 Lullaby
(1) Pressbutton,it will pop up the menu bar.
(2) Press theor button untilis highlighted, and click to confirm.
(3) In the pop-up menu bar, press thebutton orbutton to select the lullaby you want in the 8 lullabies, Click to confirm. To play all the music in a loop, select the icon and press the key to confirm. Press the key to return to the previous step.
4.6 System Time Setting
(1) Pressbutton,it will pop up the menu bar.
(2) Press theor button untilis highlighted, and click to confirm.
(3) Press the button or button in the pop-up menu to adjust the clock, minute, second, AM/PM. Press the button when you complete the time setting and go to the next step. Press the button to return to the previous step.
4.7 Temperature Display
(1) Pressbutton,it will pop up the menu bar.
(2) Press theor button untilis highlighted, and click to confirm.
(3) In the pop-up menu bar, press the button or button to select or as the temperature unit and press the key to confirm. To return to the previous step, press the key.
The screen status bar will display the temperature , reading from the temperature sensor on the back of the camera.
If the temperature is above 28 ℃ or below 20℃, the temperature reading will turn red.
4.8 Camera Display Selection
(1) Pressbutton,it will pop up the menu bar.
(2) Press the button or the button, to selectcamera1 , camera2 orswitch and press the button to confirm viewing.
(3) The display can be switched to view different lenses at the same time, you can switched the lenses between and in mode.
(4) You also can press the button to quickly select , orswitch mode to watch.
4.9 VOX Setting
VOX detection: Turn on the VOX mode, after 30 seconds, the screen will turn off. When the ambient volume of the baby is louder than the set value, the display will light up the display.
(1) Pressbutton,it will pop up the menu bar.
(2) Press theor button untilis highlighted, and click to confirm.
(3)Select modes to turn on VOX, or select to turn off VOX.
(4)In the VOX off mode ,short press the button ,you can quickly enter the VOX mode (The quick access VOX mode will only turn off the display, but will retain the camera's music transmission)
Note: When the VOX is turned off, press the power button and the display screen will turn off. You can hear the sound from the camera at any time. This mode is suitable for the baby to play when the adult needs to leave for a while. When the VOX mode is turned on, the screen and sound will turn off after 30 seconds. When the ambient sound of the camera is louder than the set value, the display screen will light up and the speaker will make a sound. This mode is suitable for use at night.
5. Cleaning
Clean the device with a slightly damp cloth or an antistatic wipe. Never use detergents or abrasive solvents.
Cleaning and maintenance
?Do not use thinner, other solvents or chemicals to clean any part of the product, which will result in damage to the product. This damage is not covered by the warranty.
?Do not expose the product to high temperatures, humidity, or strong sunlight, and do not get it wet.
6. FAQ & Troubleshooting
1. Q: Why is the distance in the room not far enough?
A: a. Check if the receiving antenna of the handheld terminal is turned on;
b. Due to different wall materials of different houses, the blocking of 2.4G signals is different. When the signal is not satisfied, the position can be adjusted.
2.Q:Why there is always some noise in the background?
A:It is impossible to eliminate all the noise. This kind of howling has always been a problem in the audio field. Please keep your receiver and camera separate in 1 meter away or more.
Tip: The microphone of the receiver and camera cannot be the opposite. That is the reason why some users get confused when they operate the devices and always get noise in the background. This phenomenon is an uncontrollable factor.
3.Q:Why the temperature not precision showing on the screen?
A:a. There is a difference in indoor air circulation.
b. The temperature sensor just placed in a new environment, and there will be a deviation within two hours.
7. Specifications
Technical Parameter
Model ABM100 Display 4.3Inch
Chip SN93360/93361 Resolution VGA 480*272 12fps
Camera Sensor GC00308 Camera 480V*640H
View Angle 75 Degree Transmission Method 2.4GHz FHSS
Display Battery Capacity 1500 mAh Transmission Distance 300M(Open Space)
Display Power Dissipation 0.95W Temperature Alarm Support
CAM Power Dissipation 0.92W Crying Alarm Support
Operating Temperature -20℃-+65℃ Lullabies Support
Material PC+ABS Feeding Alarm Support
Display NW 140.0g Night Vision(Automatic) Support
Camera NW 119.0g Display Dimensions 130.7*80.0*16.8mm(L*W*T)
Camera NW without Battery 98.0g Camera Dimensions 85.0*100.0*80.0mm(H*W*T)
